Web Push Configuration
This guide walks you through configuring the Web Push channel for your app.
Prerequisites
- An app must be created first
- The app should have a Site URL set
Accessing Web Push Configuration
- Navigate to Apps and select your app
- Click on Channels
- Click Configure on the Web Push card (or Settings if already configured)

Configuration Options
Permission Prompt Settings
These settings control when and how users are asked to subscribe.
Auto Prompt
When enabled, the permission prompt automatically appears after the configured delay.
| Setting | Description | Range |
|---|---|---|
| Auto Prompt Enabled | Show prompt automatically | On/Off |
| Prompt Delay | Seconds to wait before showing | 0-300 seconds |
| Page Views Before Prompt | Number of pages user must visit first | 0-100 |
Recommendations:
- Set a delay of 5-10 seconds to let users engage with your content first
- Consider requiring 2-3 page views to ensure engaged visitors
Custom Prompt Text
Optionally provide custom text for the permission prompt (max 255 characters).
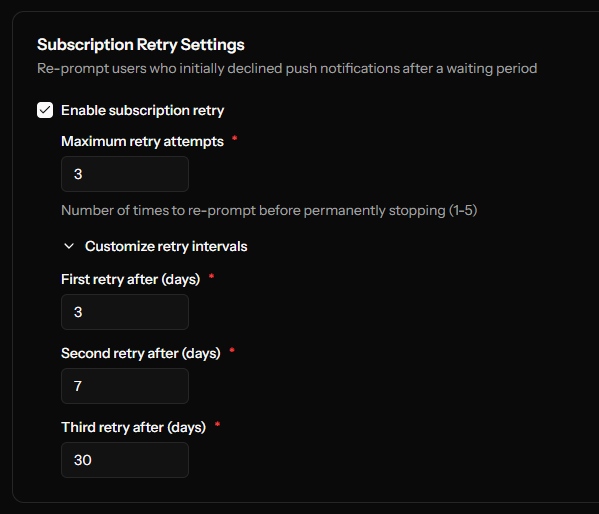
Subscription Retry Settings
These settings help recover users who initially decline notifications.
| Setting | Description | Default |
|---|---|---|
| Enable Retry | Re-prompt users who declined | On |
| Max Attempts | Maximum retry attempts (1-5) | 3 |
| 1st Retry After | Days before first retry | 3 days |
| 2nd Retry After | Days before second retry | 7 days |
| 3rd Retry After | Days before third retry | 30 days |
How it works:
- User declines the permission prompt
- System waits for the first retry interval
- On their next visit after that time, prompt appears again
- This continues until max attempts reached or user subscribes
Welcome Notification
Send an automatic notification when a user first subscribes.
| Setting | Description |
|---|---|
| Enable Welcome Notification | Turn on/off |
| Welcome Title | Notification title (max 100 chars) |
| Welcome Message | Notification body (max 255 chars) |
| Welcome URL | URL to open when clicked (optional) |
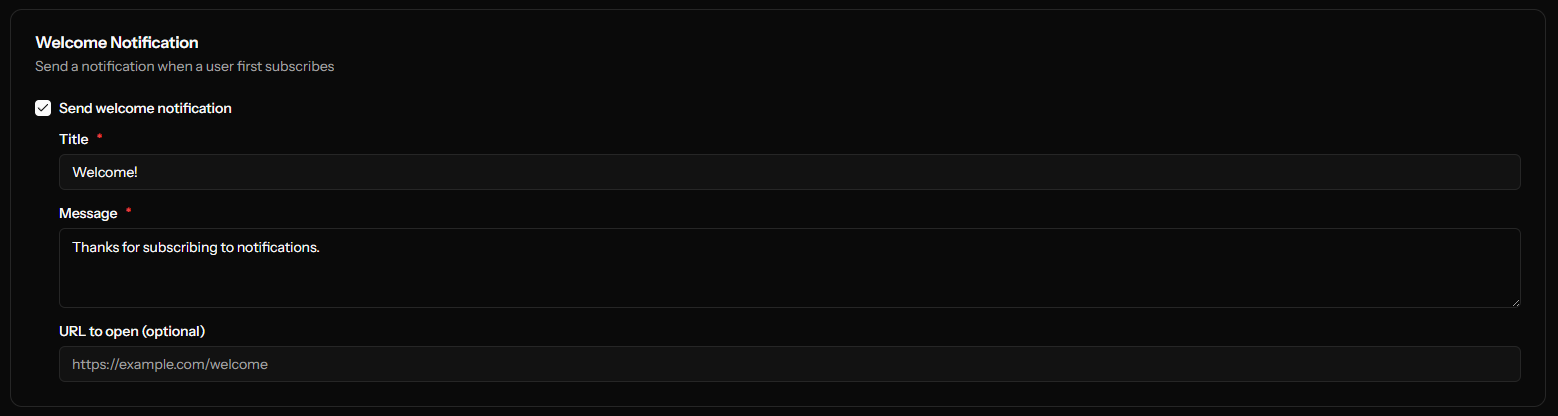
Example:
- Title: "Welcome!"
- Message: "Thanks for subscribing. You'll receive our latest updates."
- URL:
https://yoursite.com/thank-you
Default Notification Assets
Upload default images used in notifications when not specified individually.
Default Icon
The main notification icon displayed next to the notification.
| Requirement | Value |
|---|---|
| Dimensions | 256×256 pixels |
| Format | PNG, JPG, or JPEG |
| Max Size | 2 MB |
You can upload a file or provide a URL. If using a URL, the image must be exactly 256×256 pixels.
Default Badge
A smaller icon shown in the Android status bar.
| Requirement | Value |
|---|---|
| Dimensions | 96×96 pixels |
| Format | PNG, JPG, or JPEG |
| Max Size | 1 MB |
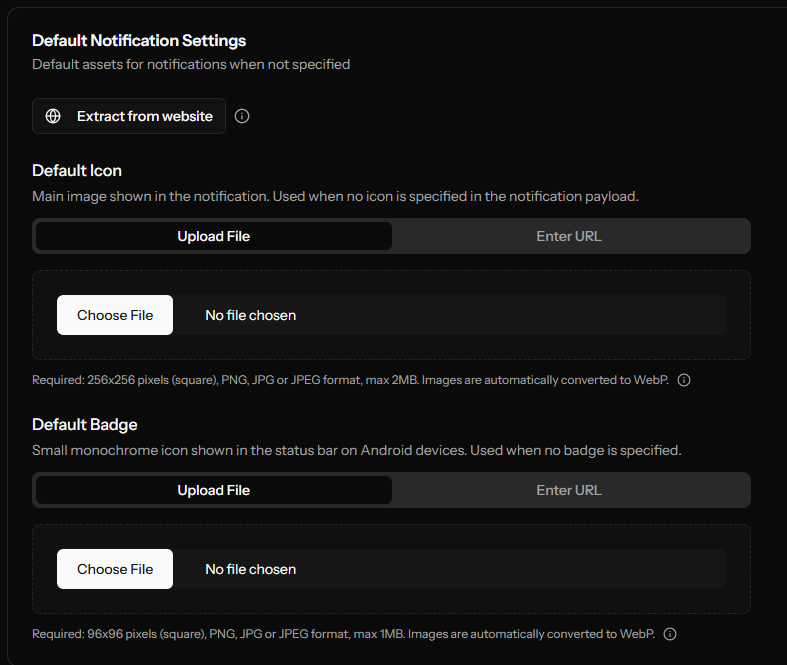
Use a monochrome or simple icon for the badge as it appears very small.
GDPR CMP Timeout
If your site uses a Consent Management Platform (CMP) for GDPR compliance, the SDK integrates with it automatically:
- It waits for an IAB TCF v2 (
__tcfapi) or legacy (__cmp) CMP to become available on the page. - Once the CMP is available, it inspects the
gdprAppliesflag:false→ the user is outside the GDPR scope, and the SDK proceeds immediately.true→ the SDK waits indefinitely for the user to grant Purpose 1 (Storage) consent. If consent is refused the SDK halts — no subscription is created.
- If no CMP shows up within the timeout window below, the SDK errors out rather than subscribing without consent.
| Setting | Description | Range |
|---|---|---|
| CMP Timeout | Seconds to wait for a CMP to become available | 1-60 seconds (default: 10) |
If your site does not have a CMP at all and does not need one, ask support about enabling the skipConsentCheck flag on your app — otherwise every initialization will timeout waiting for a CMP.
Service Worker Configuration
Advanced settings for the service worker file location.
| Setting | Description | Default |
|---|---|---|
| Service Worker Path | Path to the worker file on your server | /ocm-push-worker.js |
| Service Worker Scope | Scope of the service worker | / |
Only change these if you have a specific reason. Incorrect settings will prevent push notifications from working.
Saving Configuration
Click Save to apply your settings. After saving:
- You'll be redirected to the Installation page
- The SDK will be rebuilt with your new configuration
- New SDK files will be available for download
Advanced Prompts
For more control over how users are prompted, see Permission Prompts.
Next Steps
After configuring: